
Es gibt Programmierprojekte, die beginnen harmlos. Man möchte „nur mal eben“ ein paar Daten importieren. Danach möchte man „nur kurz“ die Nachrichten historisieren. Dann wäre es „eigentlich praktisch“, wenn neue Kontakte automatisch erkannt würden. Und irgendwann sitzt man vor einer ...
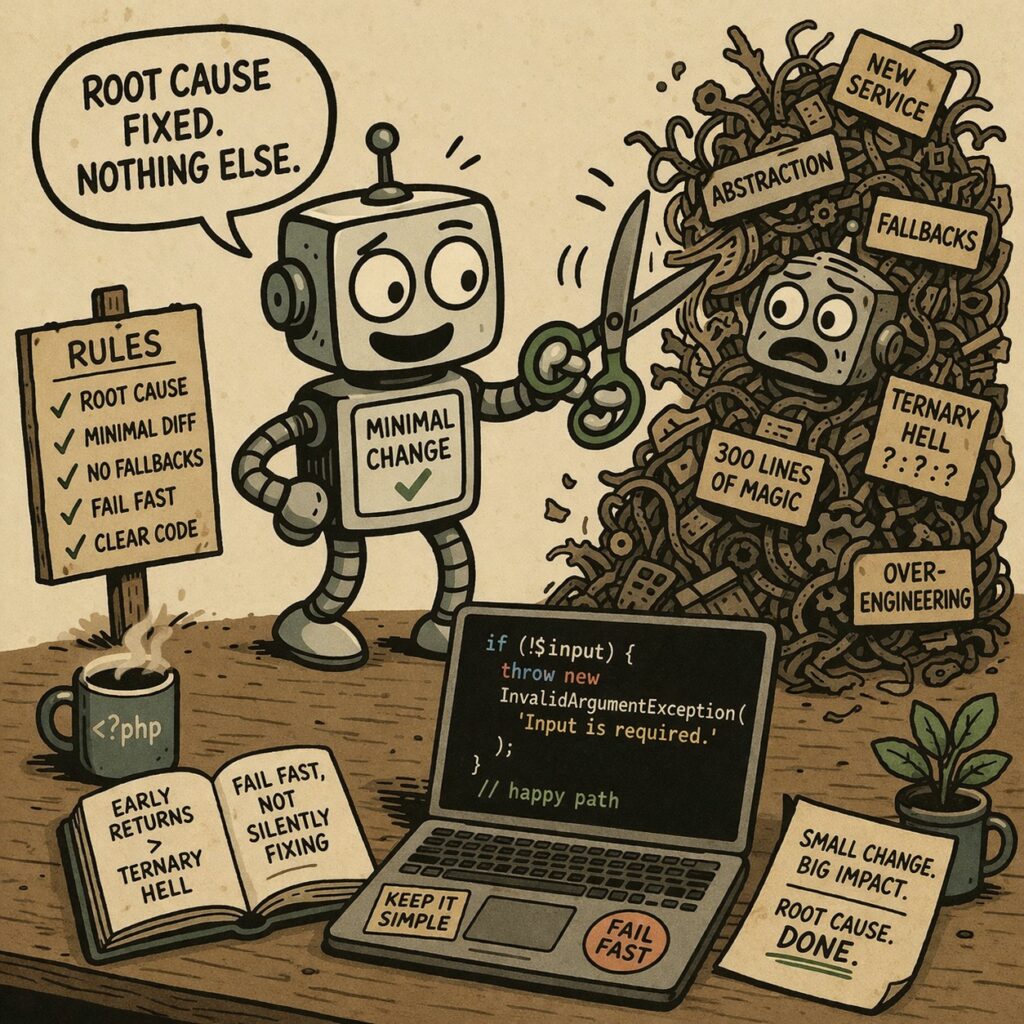
Wer heute mit Coding Agents arbeitet, kennt das Muster. Man meldet einen überschaubaren Fehler, etwa einen falsch gesetzten Regex, einen ungünstigen Vergleich oder einen fehlerhaften Sonderfall im Request-Handling, und bekommt als Antwort eine kleine Architektur-Offensive. Neue Services, neue Helper, neue ...
Teil 3: Betrieb, Stabilität und Verlagstauglichkeit Worker-Betrieb im Alltag Die Worker laufen als systemd-Services: Mehrere Worker erhöhen Durchsatz, nicht Komplexität. Monitoring aus Verlagssicht Ich will keine Metriken um der Metriken willen. Relevant sind: Alles andere ist zweitrangig. Logging mit Kontext ...
Teil 2: Mehrstufige Übersetzung statt Einmal-Magie Warum ein Durchlauf nicht reicht Gerade bei Sprachen wie Japanisch ist ein einzelner Übersetzungsschritt unbrauchbar. Grammatik, Satzstruktur und Stil weichen zu stark vom Deutschen ab. Ich arbeite deshalb bewusst mit mehreren Durchläufen: Jeder Schritt ...

Architektur, Pipeline und Betrieb Teil 1 von 3 Ausgangspunkt Ich betreibe seit vielen Jahren den Null Papier Verlag. Der Schwerpunkt liegt auf gemeinfreien Texten, aber nicht nur im klassischen angelsächsischen Raum. Mich interessieren auch Werke aus Regionen, die im deutschsprachigen ...
